Revell Model Building 101: What you Need to Know
Revell is one of the popular plastic models in the hobby industry. Their model type ranges from cars, tanks, trains, and many more. When you are building a Revell model, it is important to know some tips such as if it is necessary to paint, prime, and glue. All of this comes to question especially for someone who has no idea how to do these things.
It is not required to paint and prime Revell models. However, it is recommended to do so. Painting and priming help removes imperfection and makes the model look more realistic and detailed. Gluing on the other hand is absolutely necessary to make these models sturdy.
This blog has gathered some frequently asked questions about Revell model kits, and their answers will cover the essential steps of model building that beginners mistakenly skip sometimes.
Do you have to paint Revell models?
Painting is not necessary when building Revell models. However, it is recommended to paint models because they will look a lot better if painted. Painting adds more detail, immersion, and realism to these models thus, painting is really recommended.
Building plastic model kits is a classic hobby that has evolved with the advancement of manufacturing technology.
Although people have been making model kits for decades, the newest model kits on the market are of the highest quality.
Revell develops their model kits in such a way that there is something for all difficulty levels.
Models are available for beginners, regular hobbyists, and professionals. The molding has more detail, allowing you, as a new modeler, to enjoy yourself even more as you improve your model-building skills.
This includes painting.
Color adds realism to your model. When you paint a model, it becomes absolutely stunning and its look will be completely different if you don’t paint the model.
There are numerous model paints to choose from. Acrylic paints, enamel paints, and lacquer paints are the three main types of paint used in model building.
Whatever paint you choose, you’ll find it in gloss, satin, and matt finishes, as well as clear varnishes, to change the finish and add a protective layer.
Water-Based Acrylic Paints
Water-based acrylic paints are the most commonly used type of paint among modelers.
These paints are non-toxic, odorless, and dry quickly, allowing you to apply multiple coats without having to wait a long time.
The Revell water-based acrylics are available in square tubs with a larger volume than most other brands.
Revell acrylics have a higher pigment content than the other products, which means they provide a more solid covering right out of the pot, but they are thicker as a result.
Oil Based Enamel Paints
Oil-based enamel paints for modeling can be thinned with white spirit or turpentine with an airbrush and cleaning brushes.
There are also enamel paint thinners that are specifically designed for use with enamel paint.
Enamels were the first of their kind designed for model building and were the only option for a long time.
The main advantage of enamel paints is that they are much more durable, and they are frequently used to repair chipped paint on cars and motorcycles.
Enamels dry more slowly, taking a few hours to touch dry and up to a few days to fix entirely.
Revell also makes a good selection of enamel paints for model making.
The Revell paints are thicker than the Humbrol enamels; that is why some modelers prefer Revell for its outstanding coverage.
You can make these smoother by using a tiny amount of thinner in the paint as you work.
Cellulose-based Lacquer Paints
Cellulose-based lacquer paint is highly toxic, has a strong odor, and is highly flammable.
Lacquer paints are incredibly durable, dry faster than acrylics, and contain the most pigments.
Working with lacquer paints in a well-ventilated area and wearing a protective mask is strongly advised, especially when using an airbrush.
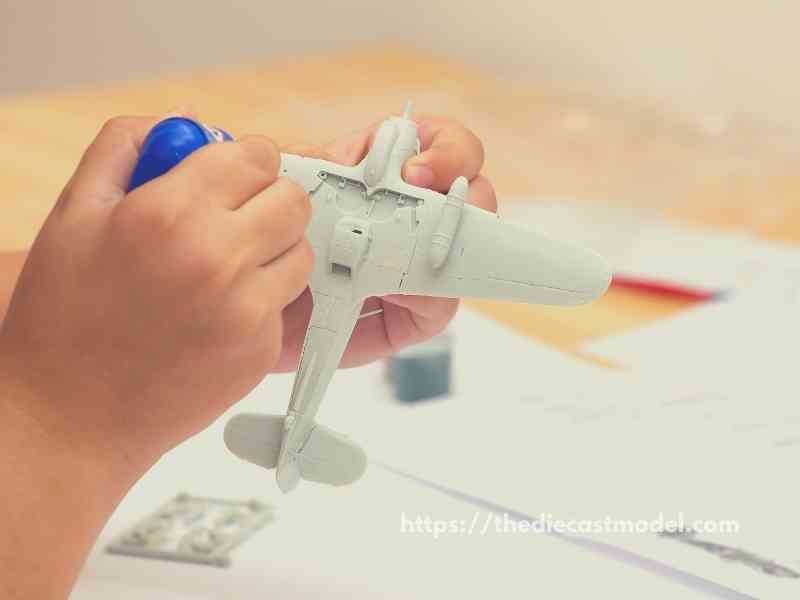
In general, painting your model before assembling it will yield better results.
An exception is gluing small parts of an assembly together before painting it as a whole if they are all the same color.
For paint recommendations, see the recommended section below.
Let me also tell you this.
Don’t be scared of painting. It can be done easily and there are paints you can use that are beginner-friendly.
Painting models is really fun stuff to do and you will always be proud of the end-product.
Because of that, I have made a simple guide on painting models. You may check it out here: Painting Model
That blog post also talks about Priming which we will not discuss on the next section.
Do you need to prime Revell models?
Priming Revell models is necessary if you want the paint or finish to look better. Priming serves as the link between the plastic and the paint. This makes the paint last longer and prevents imperfections such as bubbles or paint not sticking to the model. Furthermore, it can also be used to cover imperfections on the actual body.
You should not only prime them but also wash them first.
Mold release agents on the plastic will prevent the primer from adhering, and a lack of primer will weaken the paint bond.
A primer coat provides a receptive, consistent base for the paints that follow specific colors or combinations of modeling materials. In many cases, the color of your primer will influence the color of your final finish.
For example, White primer is effective for bright colors.
A primer coat provides a uniform base if your model is made up of different colors of plastic, photo-etched metal, or resin.
Furthermore, primer reduces the number of coats required for colors typically having coverage issues (white, yellow, or red).
Primer also hides construction flaws such as gaps or seams before any finish coats are applied.
If you’re using regular spray paint, you’ll definitely need a primer designed specifically for plastic.
The specialty primer can lay down a foundation that will aid in the adhesion of the paint. Apply an even coat of spray primer to the completely sanded, clean, and dry plastic item.
It’s important to prepare plastic models for paint and primer aids to do so smoothly. But, first, clean the model with Testor Plastic-Prep, alcohol, or soapy water to clean it. For good paint adhesion, surfaces must be clean.
Ensure that the parts to be sprayed are secure. A loop of masking tape (or double-sided tape) on a slab of cardboard can keep the parts from scattering when you spray them.
Do you need glue for Revell models?
You need to glue your Revell models if you really want them to be sturdy. Not putting some glue on these models can cause it to break especially when it accidentally falls into the ground. That is the reason gluing is one of the most popular items in the hobby industry.
Plastic glue is the most commonly used supply among modelers.
Glue, which is used at every stage of every project, is not only the most popular item in the hobby industry, but it is also something that every modeler has a strong preference for.
So, yes, you need glue for Revell models. The glue you use should be determined by your skill level, project, and patience for glue setting time.
The basic plastic model glue from Testors is a must-have item on any modeler’s workbench. Any plastic modeler in the world will undoubtedly have a tube of this lying around.
Although not ideal for advanced builds, Testors’ 3501 plastic glue is a low-cost tube of glue that can be used for various purposes in plastic modeling.
If your kit is made of Styrene plastic, any good styrene cement-like Testors, Revell, Tamiya, Faller, etc., will work best.
Tamiya’s Extra Thin Cement is one of the widely-used hobby glues. It is always available and much easier to use than other powerful plastic welders, albeit with a much longer setting and drying time.
It is not as strong as a bond, but it is easier to work with and is better suited for beginners and intermediate modelers.
Conclusion
Every Revell model kit comes with instructions, usually with pictures, describing which parts to use and in what order.
This is very important. Read this since the instructions will be different from model to model.
Parts are typically numbered by sprue. For example, A5 would be part 5 on Sprue A.
Simply follow the instructions and work your way through the steps, remembering to step away from the kit as paint or glue dries to allow the model to solidify before moving on to the next step.
In this blog post, I have only covered the important ones that you shouldn’t forget such as painting, gluing, and priming.
Priming needs the most mention since it is a small price to pay for a lot of benefits.

“Only the things I love”
thediecastmodel.com is reader-supported. When you buy through links on the site, I earn an affiliate commission.
So, here are the things I love when taking care of my Diecast Models.
Cleaning the Models
The first we are going to talk about is cleaning the models.
Removing Dust
- Air Brush – For me, this is the best since it not just removes dust but you can use it in painting/clear coating.
- Air Duster – This is a good alternative to Airbrush
- Normal Brush – If you are short on budget, you can use a normal brush. However, make sure that the brush has soft bristles because there are some hard brushes than can cause scratches. That’s why I recommended a good brush that can do the job properly.
Cleaning and Shining Hacks
Well, here are some of my cleaning hacks for removing scratches, oxidation, and so much more.
- Removing Decal Adhesive – Use Goo Gone on those hard-to-remove decal adhesives. It works fast and works like charm!
- Waxing and Polishing – Here is something a lot of people don’t know. Waxing protects the clear coat and paint while polishing shines the model. Instead of buying it separately, use a 2 in 1 to save money. Get this instead.
- Beginner Wax – The wax I recommended earlier is good and provides the best results based on my experience. But a beginner might have a problem especially if they’re not good at applying wax. Solid wax reaching hard to reach surface can be hard to remove. You have two choices here. One is to use a qtips to reach those surfaces, another is to use a liquid wax I recommended.
- Cleaning Wheels, Rubber, Plastic – Do not forget that rubber and plastic surface are quite different, especially in the cleaning process. Just wiping it down won’t do the job. That’s why I use Meguiar’s Vinyl and Rubber Cleaner and Conditioner. Works like charm!
- Make the Wheels Shine! – Making our models look good won’t be complete without tiny details such as shiny wheels! Do not forget this because however small this is, the difference can be as big as night and day.
- Remove Scratches Easily – Tiny scratches are not the end for your model. Here is a simple trick I’ve been using to make my models look scratch-free even without repainting. Use T-Cut.
Painting the Models
Painting Tools
Make sure when you paint models, have these ready.
- Tape – A tape is important if you are painting a straight line. Furthermore, it will prevent your paint to scatter on other parts. I recommend Tamiya Tape since it is really made for models. Furthermore, they stick really well preventing paint splatters.
- Brush (Beginner) – Find a good set of brushes to paint your models. Of course, you can opt for an airbrush but it’s quite expensive.
- Airbrush (Intermediate/Expert) – This will yield a significantly better result than an ordinary brush because you can easily spray the paint evenly. I recommend this if you know what you’re doing.
- Stand(Optional) – Stands are good because it can be hard to manually hold the models while painting. It is optional but in my opinion, the price is well worth it for the comfort it gives.
- Drop Cloths – Drop Cloths will protect your surroundings from the paint.
- Primer – The most common beginner mistake I see is painting models without any Primer. A primer will prevent imperfections such as bubbles or paint not sticking to your models. It is a small price to pay for quality results.
- Clear Coat – A clear coat will protect the paint of your models. This will make the paint last longer. Also, it is the one responsible for making your models shine.
Paints
Of course, you can’t do painting properly without paint. So here are the ones I recommend.
- Acrylic Paint – Good for beginners because it dries quickly. However, it doesn’t produce results as good as enamel paint.
- Enamel Paint – Provides a good quality finish and longer-lasting paint. However, it takes longer to dry and requires expertise to use.
Model Maintenance
Model Storage
- Simple Wood Cabinet – While it doesn’t let you display your models, wooden cabinets are good storage for these models. For one, they are not heat conductors which means that the temperature inside will remain constant and remain cool. Furthermore, they prevent light from reaching the models which can cause oxidation.
- Clear Cabinet with Lock – If you want to display your models, then I recommend this. It closes so dust won’t easily get to your models. I also recommend you don’t put more than 1 model in each compartment since metals are good conductors of heat.
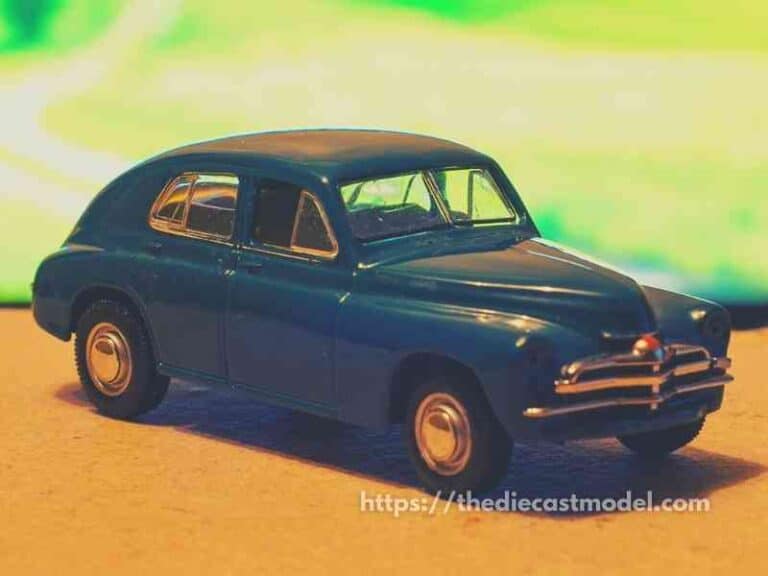
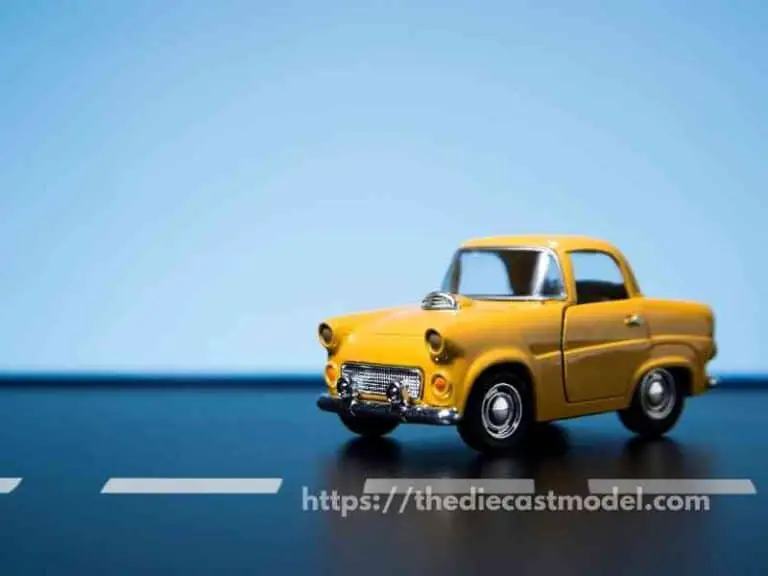
Model Photography
So you want to show off your models to others? Well, I got you covered.
Here is my beginner-friendly model photography tutorial that teaches everything from taking pictures to the editing process.
You will also see me doing hands-on photography in that tutorial.
Here is the link: How to Take Pictures of a Diecast Model or Model Kit | Helpful Illustrated and Video Guide