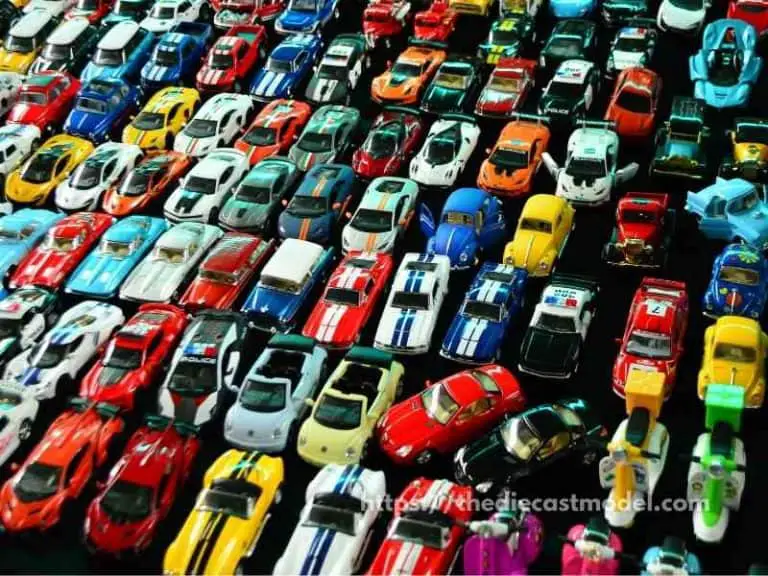
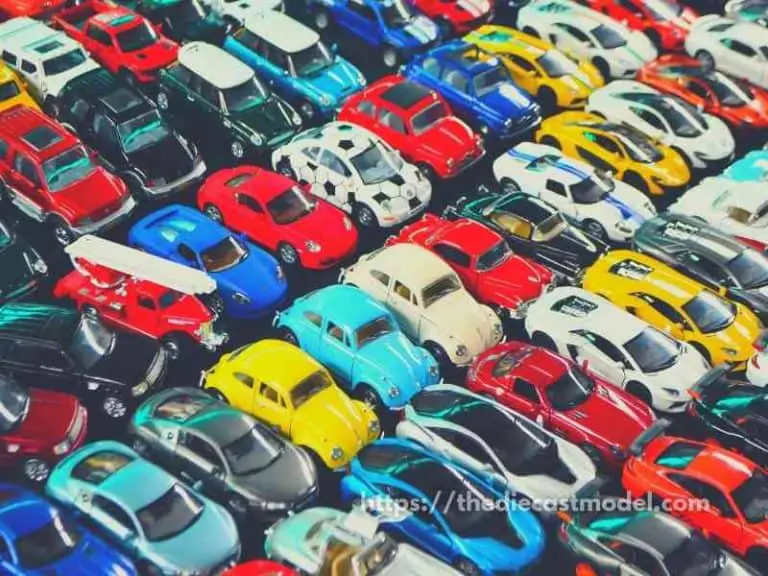
Does Tamiya Cement Work on Clear Parts?
Clear parts are one of the hardest things to join when modeling because of fog. Fogging is a phenomenon when the glue produces a whitish substance that is apparent on clear parts. Thus, modelers tend to do their best by using the best glue to prevent fogging. One of the common glues we use is the Tamiya plastic cement. So the question is: Does Tamiya cement work on clear parts?
Both the Tamiya regular cement and the extra thin cement works on clear parts. Generally speaking, they don’t fog when dried. However, what you use depends on your preference as the regular adhesive provides a stronger bond, while the extra thin adhesive provides a faster drying time.
In this blog post, I will talk about Tamiya cement, particularly the extra thin cement since most modelers tend to use it on joining clear parts. Then, I will share how it can be used on clear parts and the precautions when applying them. Lastly, I am going to give some alternatives if you prefer to use other types of glues.
Can you use Tamiya extra thin cement on clear parts?
In general, Tamiya extra thin cement does not fog clear parts. Because it is only made out of acetone and butyl acetate, it dries clearly. However, take note that since the extra thin cement melts plastics, it can cause some fogging if not carefully applied. That’s why caution is necessary when using extra thin plastic cement.
Tamiya Extra Thin cement or any other plastic cement is only effective on plastic.
Tamiya’s extra thin cement can fog or craze clear pieces if you’re not careful in the application process.
However, most of the time, extra thin plastic cement dries clearly. It only fogs when you apply too much glue.
As proof, if you leave extra thin cement for a long time, the liquid can turn cloudy on the bottle.
That’s why if you want to be super careful, you can opt for other glues in joining clear parts.
You can use clear parts cement such as Micro Krystal Klear, Gator Glue, or Testor’s clear parts cement for clear parts (all of these are essentially white glue).
Generally speaking, superglue may be effective since it does not fog. However, some super glues brand fog depending on the components and type of super glue.
Furthermore, in my experience, superglue can mix with the oils in your hands, and when it does, it produces some fogging. That’s why you need to be extra careful on using superglue, especially on clear parts.
Superglue or white glue is good to join resin and photo-etch metal pieces.
Small parts, such as instrument panels or transparent acetate sheets, can be glued with clear gloss.
For a guide on the differences between superglue and plastic cement, feel free to check this blog post: Superglue vs. plastic cement.
Does Tamiya extra thin fog clear parts?
As a general rule, Tamiya extra thin does not fog clear parts if applied correctly. It dries clearly since the glue is made out of butyl acetate and acetone. However, take note that extra thin cement can melt plastics, and when clear parts are joined with colored plastics, it can cause some color mixing which causes fogging issues.
Plastic cement, often known as model glue, is a gel-like solution that contains chemical components.
Tamiya extra thin cement comprises 50 % Butyl Acetate, 50 % Acetone, and other quick setting materials made up of 40 % Ethyl Acetate, 40 % Acetone, and 20 % Butanone.
Thus, it dries clearly.
When it comes to solvent compatibility, polystyrene isn’t the most chemically stable plastic.
Fog is likely to form around where you apply solvent or Tamiya extra thin cement on polystyrene plastic. So keep that in mind.
And if you’re doing this on a canopy that will seal up the fumes, the entire canopy is will craze or fog.
Tamiya extra thin cement is also known for melting plastics. Thus, if you mix a clear part with any colored plastic, the color can integrate with the glue causing it to look like fog.
Thus, as with everything, careful application is necessary. Do not overuse the glue, as the risk of fogging is greater if you apply more than necessary.
One last thing.
The extra thin cement tends to turn cloudy if left for a long time. Thus, if the cloudy solution is used on clear parts, it can turn foggy when dried.
That’s why it is ideal that you check if your plastic cement is expired. While a cloudy extra thin adhesive can still bind well, it is not suitable for transparent parts.
For a complete guide on Tamiya extra thin cement properties, feel free to check this blog post: How does Tamiya Extra Thin Cement Work?
Does Tamiya extra thin cement melt plastic?
As a general rule, Tamiya extra thin cement melts plastic because of its chemical properties. The extra thin adhesive usually uses acetone as its solvent, which is known to dissolve plastics. That’s why color mixing when joining plastics is common when using extra thin cement.
This cement’s most unique property is that extra thin cement melts and welds plastic parts together.
It dissolves the edges of the parts.
Butanone is the main component in the majority of plastic cement. Butanone is responsible for its stickiness.
Tamiya extra thin cement contains not only butanone but also acetone properties.
Acetone, scientifically known as dimethyl ketone or propanone, has the chemical formula (CH3)2C=O and is a widely used, low-cost solvent.
A solvent is a medium that is not meant to react with a chemical but rather to dissolve it so that the dissolved component – the solute – can be used somehow.
There are numerous types of plastics.
If the plastic is chemically similar enough to acetone, the acetone will dissolve or at least affect its surface, weakening, smearing, or even dissolving the plastic.
When used on plastic, Ethyl Acetate evaporates faster and is hotter than Butyl Acetate.
That is why Tamiya’s extra thin cement is strong enough to melt plastics and form an impenetrable bond.
Tamiya’s extra thin cement is propelled by capillary action.
Capillary activity is responsible for allowing blood to flow into your body’s teeny, tiny capillary veins.
The surface tension of several liquids (especially water) causes them to congregate in small crevices.
The extra thin cement fills every minuscule gap between the two surfaces you want to join in the same manner.
The capillary action operates on the plastic as it melts because the chemicals are intense and the glue is thin.
The capillary action and the welding process are what hold the plastic to the adhesive. It draws two pieces together and blends them at the seam while working with two parts.
This is especially obvious when using different colored plastics.
Another evidence of intense melting is that if you press the pieces together tightly after a while, some liquid plastic will flow out of the joint.
That’s why if you use the extra thin cement in colored plastics, it can cause some issues, especially if you join it with clear parts.
Which glue is best for attaching clear parts?
The best glues for attaching clear parts are Gorilla Superglue gel and Micro Kristal Klear. These two types of glue can produce strong bonds to clear parts while not causing any fogging issues. Tamiya extra thin cement can also be used, but note that plastic cement can melt plastics, so it is not ideal for joining clear parts with colored ones.
It’s best to use the Gorilla Super Glue Gel if you want clear and fast-drying glue.
That means you won’t be trapped holding the plastic parts together for minutes at a time while it hardens.
However, according to the manufacturer, it is better to wait 24 hours before putting any weight on the plastic when applying Gorilla super glue gel.
This super glue system may appear to be an epoxy at first appearance due to its two-step method, but it is a super glue that includes a primer to aid in preparing smooth plastics.
You do not have to combine the two formulas: Apply the plastic primer, let it dry, and then glue.
The glue hardens in seconds, but it takes 12 to 24 hours to dry thoroughly.
All types of plastics are compatible with the Plastics Bonding System.
The Gorilla super glue gel bond has a tensile strength of 290 to 2,900 PSI and dries transparent. It also does not shrink as it dries and, once set, can be sanded and drilled.
Some other glues like the Micro Kristal Klear are good choices for transparent parts.
One ounce bottle of Microscale Industries Micro Kristal Klear is truly a modeler’s holy grail.
Micro Kristal Klear can perform a wide range of tasks that can significantly improve the look of your models.
To begin, Micro Kristal Klear is a liquid you may use to create realistic-looking miniature windows up to 1/4 in size.
It is also used as an adhesive for attaching clear plastic components, windows, and other details to models.
With the addition of a bit of food coloring, you may use it to manufacture clear and colored lenses.
The fact that you can join the clear pieces to the painted parts with completely clear glue can make a huge difference in your models.
This eliminates the need to mask the transparent areas, which can be challenging to produce excellent results.
Moreover, clear Micro Kristal Klear reveals the painted sills, allowing for the most realistic windows on a model.
Pro modelers like how quickly and easily it works while being clear.
When wet, it’s easy to clean up with water, and when dry, it’s waterproof.
As it dries, it goes from milky white to clear.
Make sure you paint the model first before applying Micro Kristal Klear along the edges where the larger clear parts are to be attached.
Then, install and allow it to dry.
What’s next? How about knowing how strong Tamiya plastic cement is and why people prefer using it on kit building? Here is my blog post looking into the topic: Is Tamiya Cement Strong?

“Only the things I love”
thediecastmodel.com is reader-supported. When you buy through links on the site, I earn an affiliate commission.
So, here are the things I love when taking care of my Diecast Models.
Cleaning the Models
The first we are going to talk about is cleaning the models.
Removing Dust
- Air Brush – For me, this is the best since it not just removes dust but you can use it in painting/clear coating.
- Air Duster – This is a good alternative to Airbrush
- Normal Brush – If you are short on budget, you can use a normal brush. However, make sure that the brush has soft bristles because there are some hard brushes than can cause scratches. That’s why I recommended a good brush that can do the job properly.
Cleaning and Shining Hacks
Well, here are some of my cleaning hacks for removing scratches, oxidation, and so much more.
- Removing Decal Adhesive – Use Goo Gone on those hard-to-remove decal adhesives. It works fast and works like charm!
- Waxing and Polishing – Here is something a lot of people don’t know. Waxing protects the clear coat and paint while polishing shines the model. Instead of buying it separately, use a 2 in 1 to save money. Get this instead.
- Beginner Wax – The wax I recommended earlier is good and provides the best results based on my experience. But a beginner might have a problem especially if they’re not good at applying wax. Solid wax reaching hard to reach surface can be hard to remove. You have two choices here. One is to use a qtips to reach those surfaces, another is to use a liquid wax I recommended.
- Cleaning Wheels, Rubber, Plastic – Do not forget that rubber and plastic surface are quite different, especially in the cleaning process. Just wiping it down won’t do the job. That’s why I use Meguiar’s Vinyl and Rubber Cleaner and Conditioner. Works like charm!
- Make the Wheels Shine! – Making our models look good won’t be complete without tiny details such as shiny wheels! Do not forget this because however small this is, the difference can be as big as night and day.
- Remove Scratches Easily – Tiny scratches are not the end for your model. Here is a simple trick I’ve been using to make my models look scratch-free even without repainting. Use T-Cut.
Painting the Models
Painting Tools
Make sure when you paint models, have these ready.
- Tape – A tape is important if you are painting a straight line. Furthermore, it will prevent your paint to scatter on other parts. I recommend Tamiya Tape since it is really made for models. Furthermore, they stick really well preventing paint splatters.
- Brush (Beginner) – Find a good set of brushes to paint your models. Of course, you can opt for an airbrush but it’s quite expensive.
- Airbrush (Intermediate/Expert) – This will yield a significantly better result than an ordinary brush because you can easily spray the paint evenly. I recommend this if you know what you’re doing.
- Stand(Optional) – Stands are good because it can be hard to manually hold the models while painting. It is optional but in my opinion, the price is well worth it for the comfort it gives.
- Drop Cloths – Drop Cloths will protect your surroundings from the paint.
- Primer – The most common beginner mistake I see is painting models without any Primer. A primer will prevent imperfections such as bubbles or paint not sticking to your models. It is a small price to pay for quality results.
- Clear Coat – A clear coat will protect the paint of your models. This will make the paint last longer. Also, it is the one responsible for making your models shine.
Paints
Of course, you can’t do painting properly without paint. So here are the ones I recommend.
- Acrylic Paint – Good for beginners because it dries quickly. However, it doesn’t produce results as good as enamel paint.
- Enamel Paint – Provides a good quality finish and longer-lasting paint. However, it takes longer to dry and requires expertise to use.
Model Maintenance
Model Storage
- Simple Wood Cabinet – While it doesn’t let you display your models, wooden cabinets are good storage for these models. For one, they are not heat conductors which means that the temperature inside will remain constant and remain cool. Furthermore, they prevent light from reaching the models which can cause oxidation.
- Clear Cabinet with Lock – If you want to display your models, then I recommend this. It closes so dust won’t easily get to your models. I also recommend you don’t put more than 1 model in each compartment since metals are good conductors of heat.
Model Photography
So you want to show off your models to others? Well, I got you covered.
Here is my beginner-friendly model photography tutorial that teaches everything from taking pictures to the editing process.
You will also see me doing hands-on photography in that tutorial.
Here is the link: How to Take Pictures of a Diecast Model or Model Kit | Helpful Illustrated and Video Guide