Custom Toy Cars: Can you make one?
Whether you’re a car enthusiast or a fan of famous cars from series or movies, scale model cars are a great way to combine your passion with DIY and creativity. However, if you are new to this hobby, chances are you know minimal about how to make model cars.
Can I make my own model car? You can make your own toy car as numerous car kits are available with detailed instructions on how to build your own toy or model car. Furthermore, diecast cars can easily be modified with easy and simple steps.
This blog will guide you on how to make one of your own and how you can customize a Hot Wheels and Matchbox car.
Let’s get started.

Can I make my own model car?
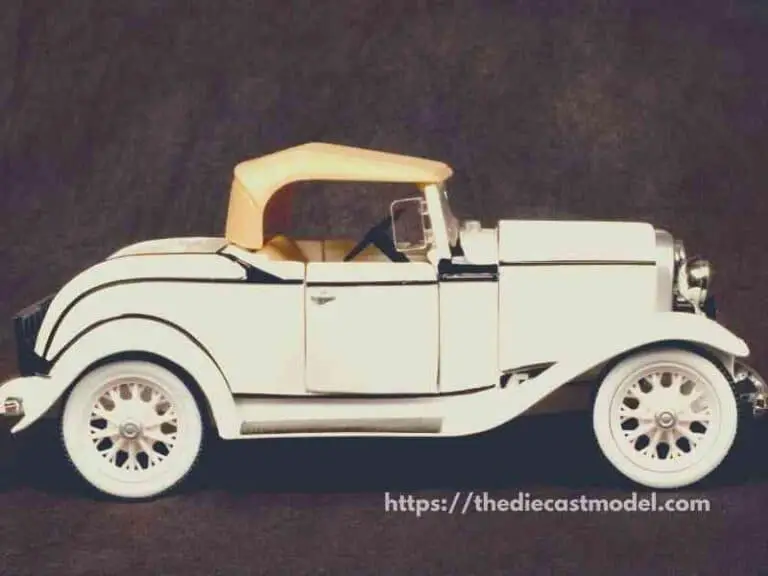
Finding your vehicle of choice is the first step in learning how to make model cars—are you looking for something classic, unique, or iconic?
After you’ve decided on a vehicle, you’ll need to find one that’s the right size for you. If you want a model car for your collection, smaller scales are better, but if you want something for your toddler, opt for a bigger size.
Once you receive your model car kit, you are ready to go. However, before building your model car, you must thoroughly read the kit instructions.
Even if the steps are apparent, the instructions will give you an idea of the order in which you must work.
The least you want to do is disassemble your model car because you discovered some extra pieces that should have gone into the chassis or engine.
This is also a good time to double-check that you have all the listed parts.
If you followed the instructions, you hopefully have a model car that looks exactly like the one in the manual.
The finish is one of the most important parts of learning how to make model cars.
This is where you can really exhibit your skills and imagination with painting, decals, sanding, and weathering.
Some people are looking to build their model cars from scratch. If you’re looking to make car models from car kits, I recommend you check my other article about finding the brands that make the best car kits. So here is the link: Which are the best company that makes model car kits?
Customizing is already a part of car model kits. But how about diecast models such as Hot Wheels and Matchbox cars? Let’s discuss that next.
How do you customize a Hot Wheels and Matchbox car?
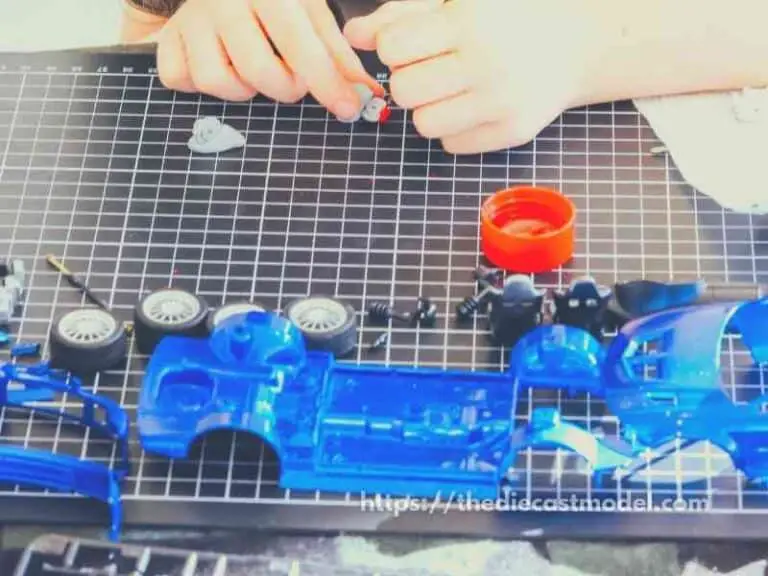
In customizing a Hot Wheels or a Matchbox car, you first begin by opening the model car. This can be done with or without a drill. After opening, you can customize the parts you want to change. You can also repaint the car to change its looks.
Customizing diecast models such as Matchbox or Hot Wheels cars is exciting. You can make something different from Mattel Originals—paint them differently and put different wheels on them.
It’s a job that, at first, can be done with simple tools and materials. However, as with many other things, you can keep it simple or go pro, as you wish.
1. Open the car
We’ll begin by opening the car.
You can sometimes open them without using a drill. While using a drill, flip the car over and drill into the center of the rivet with a 7/64-inch bit drill.
Drill about a quarter-inch deep into the material.
With a 3/16-inch bit, drill out the rivet’s head. But, do not drill into the base.
The task is easier with a drill press–it takes less than two minutes–but if you don’t have one, you can do it with a hand drill.
Remember to wear work gloves and safety glasses. Also, double-check that the drill bit is tight, secure, and straight.
2. Remove the old paint
Once the car is open, use paint remover to remove the paint from the body.
A quart of brush-on or an aerosol can is available. It takes only five minutes to complete.
To protect your lungs, take the car outside, spray or brush the remover on it, and let it sit.
Pick up the car wearing rubber gloves and rinse the body with water before letting it dry. Then, you can use a hairdryer to dry it quickly.
Sometimes you get lucky and find a car painted in a suitable color with wild graphics.
In that case, you can usually remove the graphics without stripping the paint by using nail polish remover and a cotton swab.
3. Repaint it
This is the fun part. To protect your lungs and nervous system, always paint outside.
Before start painting, prime the body with any inexpensive hardware-store primer. The house brand will work as well. Let it dry according to the instructions on the can, and then paint them with the desired color.
Opt for some funky colors like Hot pink, Current Blue, or Flashy Green for Hot Wheels transformation.
On the other hand, for Matchbox transformation, opt for a minimalistic approach. Choose black, white, tan, or darker shades of blue, green, or red to intact its realistic feature.
Sit it dry for two hours unless you want to leave it overnight.
To speed up drying, use an old-fashioned light bulb in a wooden box, place the car inside for a few minutes, or use an old toaster oven and set it to the lowest heat setting.
This technique is useful when painting at night or in the winter.
Before repainting, I suggest sanding first to remove imperfections. I have a guide here that you can follow to learn about sanding. Here is the link: Should you sand a model before painting?
4. Customizing the Wheels
The wheels usually come out of the base quickly, but minor trimming with a hobby knife may be required sometimes.
When it comes to Hot Wheels, the more, the merrier. Chic wheels with sparkly colorful rims are best for Hot Wheels. You can get those sparkly wheels from eBay or Amazon.
Matchbox wheels are tamer than the Hot Wheels ones, and off-brand cars are another excellent source of tame wheels.
Cheap cars from party stores, sold as party favors, can also produce tame wheels at a low cost.
You can adjust the length of the axles on your replacement wheelsets if they are too long or too short. After cutting the axles, get a thin piece of brass or plastic tubing with an opening that is as close to the diameter of the axle as possible.
Experiment with different positions on the base to find one where the tube does not interfere with the axle fitting.
Trim the axle pieces as needed, then slide the axle pieces into the tube to the desired length.
When everything fits on the base, disassemble it to the point where you can glue it all together. For this task, cheap super glue will work just fine.
You can click the button to check for available wheels on Amazon.
5. Extreme modifications
For extreme modifications, you can saw cars down the middle and combine the fronts of some cars with the backs of others.
To do so, use a miter box and a hacksaw to saw the cars in the proper place, dry-fit the pieces together, tape the inside of the joint with aluminum tape, glue it with superglue, and file and fill in the gaps.
It’s definitely a good idea to start with simple modifications first.
Whether you opt for buying your own model car kit or customize Hot Wheels and Matchbox cars, you must follow all the safety guidelines.
Remember, a hobby’s purpose is to relieve stress and lengthen your life, not shorten it.

“Only the things I love”
thediecastmodel.com is reader-supported. When you buy through links on the site, I earn an affiliate commission.
So, here are the things I love when taking care of my Diecast Models.
Cleaning the Models
The first we are going to talk about is cleaning the models.
Removing Dust
- Air Brush – For me, this is the best since it not just removes dust but you can use it in painting/clear coating.
- Air Duster – This is a good alternative to Airbrush
- Normal Brush – If you are short on budget, you can use a normal brush. However, make sure that the brush has soft bristles because there are some hard brushes than can cause scratches. That’s why I recommended a good brush that can do the job properly.
Cleaning and Shining Hacks
Well, here are some of my cleaning hacks for removing scratches, oxidation, and so much more.
- Removing Decal Adhesive – Use Goo Gone on those hard-to-remove decal adhesives. It works fast and works like charm!
- Waxing and Polishing – Here is something a lot of people don’t know. Waxing protects the clear coat and paint while polishing shines the model. Instead of buying it separately, use a 2 in 1 to save money. Get this instead.
- Beginner Wax – The wax I recommended earlier is good and provides the best results based on my experience. But a beginner might have a problem especially if they’re not good at applying wax. Solid wax reaching hard to reach surface can be hard to remove. You have two choices here. One is to use a qtips to reach those surfaces, another is to use a liquid wax I recommended.
- Cleaning Wheels, Rubber, Plastic – Do not forget that rubber and plastic surface are quite different, especially in the cleaning process. Just wiping it down won’t do the job. That’s why I use Meguiar’s Vinyl and Rubber Cleaner and Conditioner. Works like charm!
- Make the Wheels Shine! – Making our models look good won’t be complete without tiny details such as shiny wheels! Do not forget this because however small this is, the difference can be as big as night and day.
- Remove Scratches Easily – Tiny scratches are not the end for your model. Here is a simple trick I’ve been using to make my models look scratch-free even without repainting. Use T-Cut.
Painting the Models
Painting Tools
Make sure when you paint models, have these ready.
- Tape – A tape is important if you are painting a straight line. Furthermore, it will prevent your paint to scatter on other parts. I recommend Tamiya Tape since it is really made for models. Furthermore, they stick really well preventing paint splatters.
- Brush (Beginner) – Find a good set of brushes to paint your models. Of course, you can opt for an airbrush but it’s quite expensive.
- Airbrush (Intermediate/Expert) – This will yield a significantly better result than an ordinary brush because you can easily spray the paint evenly. I recommend this if you know what you’re doing.
- Stand(Optional) – Stands are good because it can be hard to manually hold the models while painting. It is optional but in my opinion, the price is well worth it for the comfort it gives.
- Drop Cloths – Drop Cloths will protect your surroundings from the paint.
- Primer – The most common beginner mistake I see is painting models without any Primer. A primer will prevent imperfections such as bubbles or paint not sticking to your models. It is a small price to pay for quality results.
- Clear Coat – A clear coat will protect the paint of your models. This will make the paint last longer. Also, it is the one responsible for making your models shine.
Paints
Of course, you can’t do painting properly without paint. So here are the ones I recommend.
- Acrylic Paint – Good for beginners because it dries quickly. However, it doesn’t produce results as good as enamel paint.
- Enamel Paint – Provides a good quality finish and longer-lasting paint. However, it takes longer to dry and requires expertise to use.
Model Maintenance
Model Storage
- Simple Wood Cabinet – While it doesn’t let you display your models, wooden cabinets are good storage for these models. For one, they are not heat conductors which means that the temperature inside will remain constant and remain cool. Furthermore, they prevent light from reaching the models which can cause oxidation.
- Clear Cabinet with Lock – If you want to display your models, then I recommend this. It closes so dust won’t easily get to your models. I also recommend you don’t put more than 1 model in each compartment since metals are good conductors of heat.
Model Photography
So you want to show off your models to others? Well, I got you covered.
Here is my beginner-friendly model photography tutorial that teaches everything from taking pictures to the editing process.
You will also see me doing hands-on photography in that tutorial.
Here is the link: How to Take Pictures of a Diecast Model or Model Kit | Helpful Illustrated and Video Guide
Sources (check below for more suggested articles)