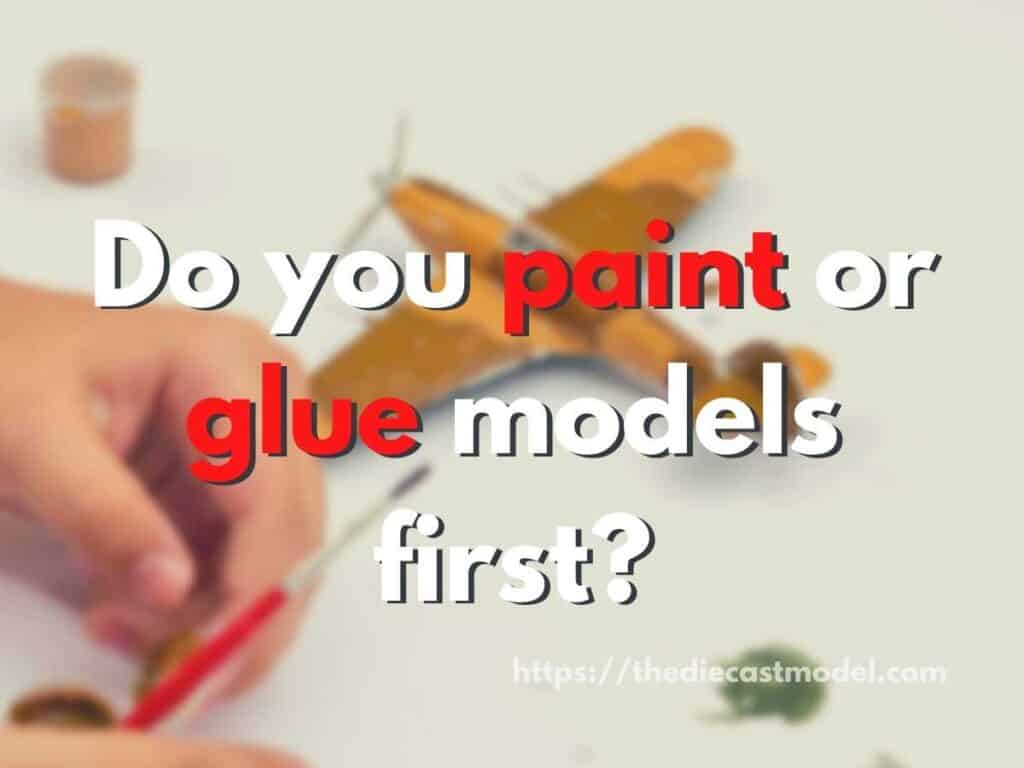
Do you paint or build models first: A Guide on Painting and Gluing
As a modeler, it can be hard to choose if we should paint or build first. In my experience, painting or building first solely depends on the modeler’s skill level and the quality of result they want to accomplish. But what is the consensus? Should you paint or build models first?
Beginners prefer building first before painting because it is easier. However, experienced modelers prefer painting first because it makes sure that small parts and hard-to-reach places are painted, making the quality and details of their build better.
In this blog post, we are going to talk about painting and gluing. Furthermore, I am going to share some tips to improve your build. Lastly, I will answer if we can glue painted parts and if glue can be painted over.
Do you paint or glue models first?
As a general rule, gluing models before painting is suitable for beginners since it provides an easier way to build a model. However, note that gluing first can make it hard to detail hard-to-reach places making it not ideal for quality results. That’s why experienced modelers prefer painting first before gluing.
The question of painting or gluing first is something every novice modeler asks.
While there is no straightforward answer, It’s wise to rely on reasoning in this case.
With a bit of planning, it is obvious when and what to paint first and glue second, or vice versa.
Assume you’re assembling a model vehicle. Would you like to paint the seats and dashboard after the roof and body are installed? Most likely not.
It would be helpful to read the directions as the manufacturer frequently suggests how you should build their models.
When it comes to determining when to paint a model kit, there are three options.
- Put together the full kit, then prime, and then paint it.
- Prime and paint each component separately before assembling.
- Assemble certain pieces and leave others unassembled before priming and painting everything before final assembly.
Generally speaking, the first option is suitable for beginners. However, take note that the first method doesn’t paint the hard-to-reach surfaces. That’s why when it comes to details, the second option is preferred by experienced modelers. The third method lies in between.
The methods also vary by model kit since these model kits have an indicated difficulty level. For example, Tamiya Level 2 models are easy to build and paint, while Level 5 will be complicated.
| Ability Level | Number of Pieces | Ease of Assembling |
| Ability Level 1 | About 10-30 pcs | Easy Snapping, Requires no Gluing |
| Ability Level 2 | Less than 100 pcs | Easy Snapping, Requires Gluing |
| Ability Level 3 | More than 100 pcs | More Detailed Parts |
| Ability Level 4 | About 100 to 200 pcs | Extra fine and delicate parts |
| Ability Level 5 | About 200 to 1000 pcs | For Master Modelers, have delicate and moving parts |
Here is my point. Each kit has its own set of issues and difficulty that you must address before starting to build.
That’s why the manufacturer usually includes an instruction manual. The manual shows how the manufacturers intended their models to be built.
So, each kit must have a work plan.
For a Free Model Painting Guide, feel free to check this blog post: Painting a Scale Model.
Can you glue painted plastic models?
As a general rule, you can glue painted plastic models. However, note that gluing paint would not produce the same bonding strength as painting the body itself. This is because the bond created by the glue will be dependent on the paint’s bond strength to the body.
This section will include tips for you to get the best out of your gluing process. Of course, as I said earlier, following the manual is always the best. However, there are some common instructions I can share in this section.
Before commencing a build, you must always thoroughly read the instructions to determine what can and cannot be glued before painting.
Ensure that instructions are included in the box if you’re buying a secondhand model kit from a thrift store or an internet site like eBay.
With a bit of preparation, it’s generally evident when and what to paint first and then glue later.
Reading the directions can help you figure out what to do if you’re unsure of what to do.
Instructions frequently include a section that explains the basics.
Sometimes, there are obvious rules, such as not using a spray can or airbrush to paint the body and interior after installing the windshield and mirrors.
If you think about it, spraying paint after putting the mirrors and windshield increases the likelihood of painting parts not intended to be colored.
Also, it’s a good idea to split the larger pieces into groups of the same color and spray them all at once.
The same is true for the sprue’s smaller parts.
Write down the numbers of the parts that are the same color and paint them in groups.
This can save a lot of brush cleaning time while also allowing you to understand what each part is and where it fits on the model.
You might need to scrape off the paint so that the glue can form a sturdy bond on the contact area.
To keep the paint off, you can use a tiny strip of masking tape to cover the joining point.
Use self-adhesive tape, frisket paper, or just plain paper to mask off the area you want to protect from paint.
Other masking fluids (like Maskol) may be brushed on and then removed after painting.
Make sure the masking material has securely adhered to the surface for sharp edges because the paint tends to seep behind the mask.
Remove the tape gently after the paint has dried to avoid chipping the paint edges.
Tamiya Masking Tape is one of the best masking tapes for achieving very fine lines.
However, scraping the paint to glue causes more work. That’s why some prefer gluing already painted parts.
When it comes to gluing painted models, note that it is sometimes an unfortunate necessity.
What I mean is by gluing painted areas, the bond strength would not be as strong as gluing the body itself.
First, the glue is intended to stick on the body. By sticking on the paint, we will be decreasing its bonding strength.
Second, by gluing the paint, once the stain is removed, so is the glue. This means the bond would now depend on the stickiness of the paint, which depends on how you applied the paint.
Painting without primers causes paint to remove quickly, making the glue useless.
However, by painting first, we can make sure that you can paint the small parts, which leads to better quality results. That’s why I say gluing on painted pieces is an unfortunate necessity.
That’s why if we want to ensure quality, what we can do is to strengthen the stickiness of paint, which is usually done with primers.
Don’t worry because we will talk about primers later.
Can glue be painted over?
In general, glue should not be painted over because the paint is not intended to be used on the glue. In addition, painting on glue can cause imperfections on the surface, such as bubbles and wrinkling. To have optimal results, paints should be painted on primers for maximum bonding strength and a smooth finish.
Some parts might need to be glued before painting the block but read the instructions to see whether these have a different color specified.
If this is the case, it may be easier to paint these while still attached to the sprue.
This includes the water pump, intake and exhaust manifolds, and other minor components.
After detaching from the sprue, these will require minor touch-ups and cleanup.
The chrome engine pieces are the last to be glued in this part, so you may need to use a modeling knife to scrape the paint (if you have painted already) where they will be attached.
The best technique to remove paint is to scrape it away.
You must ensure that the glue comes into contact with the plastic and that there is a plastic-to-plastic contact.
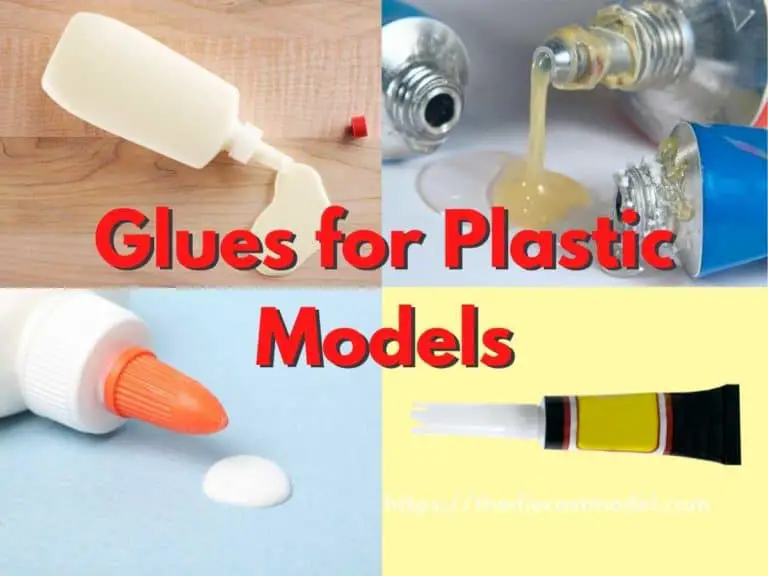
The glue isn’t truly glue— plastic cement or adhesive slightly melts the plastic and allows it to merge with the plastic it comes into contact with.
Tamiya Extra Thin cement dissolves not only the plastic but also the paint quickly and sets fast.
So, you can use it to glue parts either way–before or after painting.
For a guide on the safety profile of Tamiya Extra thin cement, feel free to check this blog post: is Tamiya Extra Thin cement safe?
Final Words
Since I talked about priming, I would like to expand on the topic.
Priming is necessary for a successful paint job. It is used to detect flaws, faulty seams, and rough spots that require additional sanding.
It can be pretty helpful to prime in a different color than the original plastic to spot flaws more easily.
Priming also improves the bonding of the paint and plastic.
Finally, it’s all about the tools you have and what you are confident using.
A good model-building job also requires following directions and using common sense.
What’s next? Priming is one of the often-neglected steps before painting. However, if you want to best results, you shouldn’t skip the priming process. For more reasons why check this blog post: Is Priming Necessary before painting?

“Only the things I love”
thediecastmodel.com is reader-supported. When you buy through links on the site, I earn an affiliate commission.
So, here are the things I love when taking care of my Diecast Models.
Cleaning the Models
The first we are going to talk about is cleaning the models.
Removing Dust
- Air Brush – For me, this is the best since it not just removes dust but you can use it in painting/clear coating.
- Air Duster – This is a good alternative to Airbrush
- Normal Brush – If you are short on budget, you can use a normal brush. However, make sure that the brush has soft bristles because there are some hard brushes than can cause scratches. That’s why I recommended a good brush that can do the job properly.
Cleaning and Shining Hacks
Well, here are some of my cleaning hacks for removing scratches, oxidation, and so much more.
- Removing Decal Adhesive – Use Goo Gone on those hard-to-remove decal adhesives. It works fast and works like charm!
- Waxing and Polishing – Here is something a lot of people don’t know. Waxing protects the clear coat and paint while polishing shines the model. Instead of buying it separately, use a 2 in 1 to save money. Get this instead.
- Beginner Wax – The wax I recommended earlier is good and provides the best results based on my experience. But a beginner might have a problem especially if they’re not good at applying wax. Solid wax reaching hard to reach surface can be hard to remove. You have two choices here. One is to use a qtips to reach those surfaces, another is to use a liquid wax I recommended.
- Cleaning Wheels, Rubber, Plastic – Do not forget that rubber and plastic surface are quite different, especially in the cleaning process. Just wiping it down won’t do the job. That’s why I use Meguiar’s Vinyl and Rubber Cleaner and Conditioner. Works like charm!
- Make the Wheels Shine! – Making our models look good won’t be complete without tiny details such as shiny wheels! Do not forget this because however small this is, the difference can be as big as night and day.
- Remove Scratches Easily – Tiny scratches are not the end for your model. Here is a simple trick I’ve been using to make my models look scratch-free even without repainting. Use T-Cut.
Painting the Models
Painting Tools
Make sure when you paint models, have these ready.
- Tape – A tape is important if you are painting a straight line. Furthermore, it will prevent your paint to scatter on other parts. I recommend Tamiya Tape since it is really made for models. Furthermore, they stick really well preventing paint splatters.
- Brush (Beginner) – Find a good set of brushes to paint your models. Of course, you can opt for an airbrush but it’s quite expensive.
- Airbrush (Intermediate/Expert) – This will yield a significantly better result than an ordinary brush because you can easily spray the paint evenly. I recommend this if you know what you’re doing.
- Stand(Optional) – Stands are good because it can be hard to manually hold the models while painting. It is optional but in my opinion, the price is well worth it for the comfort it gives.
- Drop Cloths – Drop Cloths will protect your surroundings from the paint.
- Primer – The most common beginner mistake I see is painting models without any Primer. A primer will prevent imperfections such as bubbles or paint not sticking to your models. It is a small price to pay for quality results.
- Clear Coat – A clear coat will protect the paint of your models. This will make the paint last longer. Also, it is the one responsible for making your models shine.
Paints
Of course, you can’t do painting properly without paint. So here are the ones I recommend.
- Acrylic Paint – Good for beginners because it dries quickly. However, it doesn’t produce results as good as enamel paint.
- Enamel Paint – Provides a good quality finish and longer-lasting paint. However, it takes longer to dry and requires expertise to use.
Model Maintenance
Model Storage
- Simple Wood Cabinet – While it doesn’t let you display your models, wooden cabinets are good storage for these models. For one, they are not heat conductors which means that the temperature inside will remain constant and remain cool. Furthermore, they prevent light from reaching the models which can cause oxidation.
- Clear Cabinet with Lock – If you want to display your models, then I recommend this. It closes so dust won’t easily get to your models. I also recommend you don’t put more than 1 model in each compartment since metals are good conductors of heat.
Model Photography
So you want to show off your models to others? Well, I got you covered.
Here is my beginner-friendly model photography tutorial that teaches everything from taking pictures to the editing process.
You will also see me doing hands-on photography in that tutorial.
Here is the link: How to Take Pictures of a Diecast Model or Model Kit | Helpful Illustrated and Video Guide