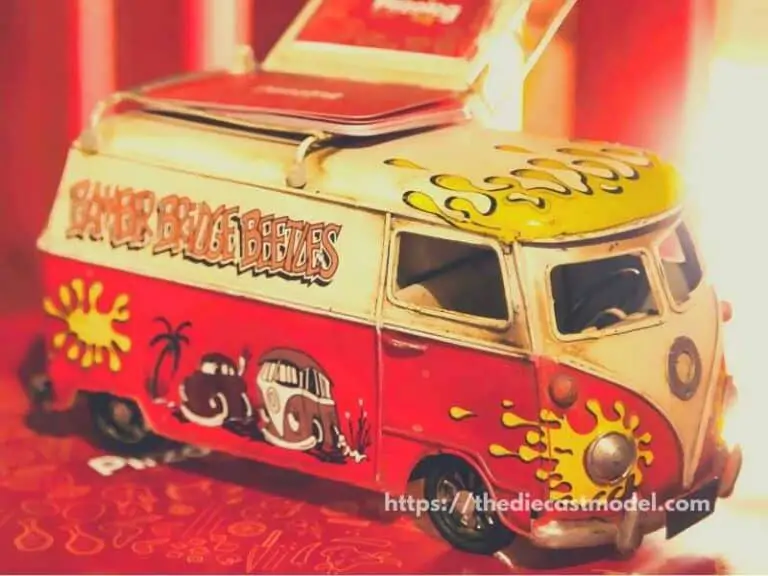
How To Make A Diecast Shine | Complete Guide
The one main thing that collectors always look for to know if the models are well maintained is if they shine. For a collector, having a shiny set of diecast models serves as a trophy of their competence in maintaining them. Thus, it is important to learn how to shine your models both for you and for the eyes of other collectors.
Making your diecast models shine can be done in a few easy steps which are dusting, deep cleaning, and polishing. If all three things are done right, diecasts models are not only shiny but protected from dirt and other irritants. However, different kinds of dirt require a different set of dusting and cleaning procedures.
Do you want to know how to make your diecast model stand out? In this post, you’ll learn several tips and strategies for keeping your diecast in great shape.
How do you make a diecast shine?
Shining a Diecast model comes with 3 easy steps:
- Dusting
- Deep Cleaning
- Polishing and Waxing
Diecast model shines brightly when thoroughly cleaned, waxed, and polished.
You may clean your diecast model automobiles and other diecast models using a variety of methods.
How you cleanse your diecast model vehicles depends on just how dirty they are and what kind of dirt they have (e.g. decal residue, dust, dried glue, etc).
Below are several possible scenarios and some tools with approaches for cleaning the models. Whenever cleaning your models, be cautious. These are suggestions, and they may or may not be applicable to your model.
Things You Need
| Item | Purpose/Comment | Where to Find |
| High-Quality Dust Brush | Removes Dust, Does not scratch surface | Check on Amazon |
| Goo Gone | Decal Remover, Deep Cleaning | Check on Amazon |
| Carnauba Wax | Cleans, Shines and Protects Surface | Check on Amazon |
| Carnauba Oil | Cleans and Shines Tires and Glass | Check on Amazon |
| T-Cut | Scratch Remover | Check on Amazon |
Dusting
Microfiber cloths are my preferred dusting method because they create little to no lint residue.
Cotton towels continue to move dust around instead of picking it up, and they also leave more lint behind. If you must use cotton, ensure it is 100 percent cotton.
Some cotton mixes have filaments that might harm the diecast car’s exterior.
If you’re cautious, canned air for cleaning keyboards as well as other devices can also be used to dust diecast model vehicles.
Because the power of the air can be more than enough to knock components off your model, canned air demands some care. You could use an airbrush if you do not even spray it randomly but proceed with caution.
For more tips on Dusting, feel free to check my other article about dusting: How to properly remove dust from a diecast model
Decal Adhesive Residue
There are several methods for removing decal glue from diecast model automobiles.
The most important thing is to pick an option that won’t harm your model’s finish.
Goo Gone has always worked nicely for me on the toughest ones, even on plastic.
There are a variety of products that will remove residue from your model while also melting it.
Dried Glue
The type of adhesive and the surface on which it is applied determine how you clean glue off your diecast model cars.
While acetone is effective at removing super glue, it is too strong to use on metal.
To dissolve a glob of glue, place the model under a strong light and use a sharp knife to gently whittle away at the glob.
Use sandpaper until you’ve reduced the glue down to the thinnest layer you’re accustomed to working with.
If the superglue is on the glass, you can remove it with acetone, which will not harm the glass.
NOTE: Do not use acetone on the model surface as there is a chance it can melt your paint. Only use it on the glass surface.
Just ensure it’s glass and also that the acetone doesn’t end up on anything else.
If the adhesive is on plastic, I remove and sand it off again.
I don’t bother trying any other procedures because plastic is too delicate.
I’d rather stick to something that works, no matter how inconvenient it is than fiddle with something that could harm my plastic parts. If the plastic is clean, be prepared to polish it if it gets scratched.
Heavy Dirt and Grime
I advise disassembling the model car when you’re comfortable with it but don’t force it if you’re not.
The majority of the job will be done for you by water and an absorbent cotton cloth (remember to use 100 percent cotton).
Never use microfiber for this because microfiber is not designed to handle such high amounts of grime.
If your model has decals, has upholstered and carpeted interiors, and so on.
Submerge the automobile for half a minute in cold to lukewarm water with a light soap (not dish soap).
Note: Do not use soapy water in this step as it can rust your discolor the model
Remove the automobile from the bath, clean it, and then rinse it.
Cotton swaps or plastic picks (such as plastic toothpicks) perform well for getting into hard-to-reach locations and are delicate enough that they are unlikely to damage anything.
Heavy dust may not necessitate the use of water. If the interior is quite dirty, you can use tweezers to remove the larger debris, then follow the steps above to remove the tiny dust particles.
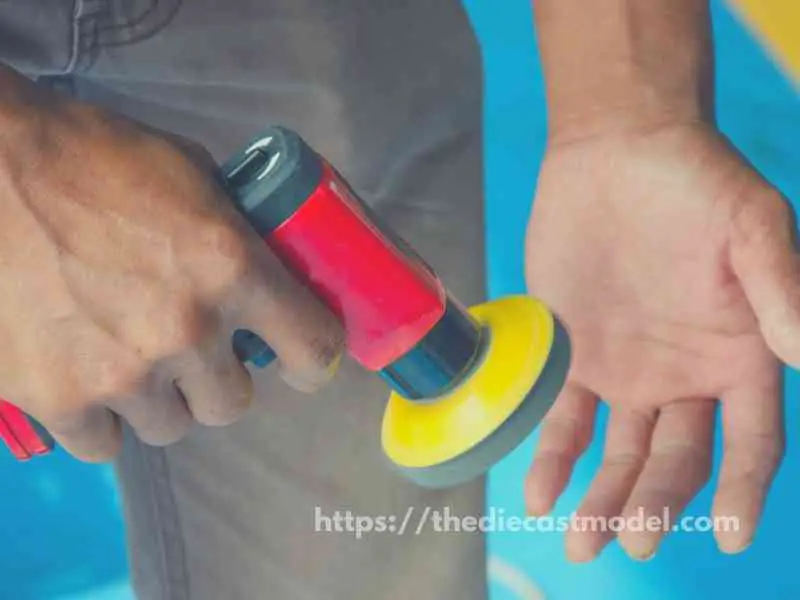
Waxing and Polishing
Frequently, the phrases “waxing” and “polishing” are interchanged.
Waxing is a process that involves covering an automobile’s exterior in order to protect the paint.
Polishing, on the other hand, is done after the car has been waxed to give it that lustrous shine.
While it’s fantastic to wax and polish your diecast to watch your model sparkle like a knight in shining armor, I suggest you wax because vehicle wax covers the surface with a smooth coating rather than removing a thin layer of paint like polish does.
To put it another way, polish eliminates the fine layer of the model while wax smooths it out.
Apply wax to your car’s paint after cleaning and polishing it to make it shine.
The wax I always use is the Turtle carnauba wax which is my favorite because it cleans, waxes, and protects your diecast from dust in the future.
I always use it and it works like charm.
But do not wax all the time because I heard that frequent waxing thins the clear coat. However, I’m not sure if it’s true.
I tend to deep clean my models quarterly or twice a year if I’m busy.
Here is the wax I’m using.
Tips on How to make your diecast model shine
Before applying polish, make sure the model is cleaned and dust-free, as all of these include a sealing property that will seal dirt in if it is not already dusted.
1. Use Liquid Wax
To begin, use liquid wax.
Paste wax dries hard and is difficult to remove from difficult-to-reach spots.
When working with colorants, never use wax.
Usually, this would be stated on the package.
Although I use paste wax, I make sure not to put it in hard-to-reach spots. If you’re not good at it, then try using a liquid wax as of now.
Also, don’t use too much wax and use it too often.
2. Use carnauba oil for tires
Utilize carnauba oil, a natural coconut oil product, to clean your tires and glass. It works like a charm.
Check carnauba oil here:
3. Test on small areas first before applying
Whether you’re not sure about the polish, test it on a small piece of perspex or similar transparent plastic to see if it discolors before applying it to the interior of the car.
4. Polish shines, wax protects
How do you ready your car’s exterior for painting? Polishing and waxing are not interchangeable; polish creates shine, while wax protects it.
Although, there is now wax that also acts as polish. You can use that instead.
5. Use a Scratch Remover
The ideal way is to use T-Cut that has been thinned down, but proceed with caution since this will eliminate impurities and contaminants.
T-Cut is a solution that removes tiny scratches, swirl marks, and contamination from painted surfaces. Any effective swirl mark eraser can do the same.
Any excellent grade vehicle polish will do; just make sure it’s pure polish and not a blend with abrasives.
The best wax to use is carnauba wax.
Following the glazing stage, I should apply wax to maintain the car’s sheen.
If you go through these steps, any dust will be easily blown away, and a fast wax every six months would keep your miniatures looking wonderful. You can skip the glaze stage if you want, but the sheen will fade with time.
The trick is to properly follow the entire method because you only want to do it once.
After you’ve completed that technique, you’ll just need to apply a coat of wax roughly twice a year and you won’t use the swirl cleanser or polish again.
Conclusion
Keep your diecast model in good shape by cleaning it thoroughly and waxing it up. Canned air can be more than enough to remove decal residue, dust, dried glue, etc.
For collectors, restoring vintage diecast models is a common pastime.
The restoration procedure is both enjoyable and rewarding. Hope you like the ideas shared on ‘top suggestions’ for tackling a do-it-yourself restoration project to make your diecast shine.
To make a diecast shine, first, clean the car exterior (unless you want the dusty particles on the surface to be coated by wax), then polish it to give it shiny, and finally add wax to produce a coating that will protect the shine.

“Only the things I love”
thediecastmodel.com is reader-supported. When you buy through links on the site, I earn an affiliate commission.
So, here are the things I love when taking care of my Diecast Models.
Cleaning the Models
The first we are going to talk about is cleaning the models.
Removing Dust
- Air Brush – For me, this is the best since it not just removes dust but you can use it in painting/clear coating.
- Air Duster – This is a good alternative to Airbrush
- Normal Brush – If you are short on budget, you can use a normal brush. However, make sure that the brush has soft bristles because there are some hard brushes than can cause scratches. That’s why I recommended a good brush that can do the job properly.
Cleaning and Shining Hacks
Well, here are some of my cleaning hacks for removing scratches, oxidation, and so much more.
- Removing Decal Adhesive – Use Goo Gone on those hard-to-remove decal adhesives. It works fast and works like charm!
- Waxing and Polishing – Here is something a lot of people don’t know. Waxing protects the clear coat and paint while polishing shines the model. Instead of buying it separately, use a 2 in 1 to save money. Get this instead.
- Beginner Wax – The wax I recommended earlier is good and provides the best results based on my experience. But a beginner might have a problem especially if they’re not good at applying wax. Solid wax reaching hard to reach surface can be hard to remove. You have two choices here. One is to use a qtips to reach those surfaces, another is to use a liquid wax I recommended.
- Cleaning Wheels, Rubber, Plastic – Do not forget that rubber and plastic surface are quite different, especially in the cleaning process. Just wiping it down won’t do the job. That’s why I use Meguiar’s Vinyl and Rubber Cleaner and Conditioner. Works like charm!
- Make the Wheels Shine! – Making our models look good won’t be complete without tiny details such as shiny wheels! Do not forget this because however small this is, the difference can be as big as night and day.
- Remove Scratches Easily – Tiny scratches are not the end for your model. Here is a simple trick I’ve been using to make my models look scratch-free even without repainting. Use T-Cut.
Painting the Models
Painting Tools
Make sure when you paint models, have these ready.
- Tape – A tape is important if you are painting a straight line. Furthermore, it will prevent your paint to scatter on other parts. I recommend Tamiya Tape since it is really made for models. Furthermore, they stick really well preventing paint splatters.
- Brush (Beginner) – Find a good set of brushes to paint your models. Of course, you can opt for an airbrush but it’s quite expensive.
- Airbrush (Intermediate/Expert) – This will yield a significantly better result than an ordinary brush because you can easily spray the paint evenly. I recommend this if you know what you’re doing.
- Stand(Optional) – Stands are good because it can be hard to manually hold the models while painting. It is optional but in my opinion, the price is well worth it for the comfort it gives.
- Drop Cloths – Drop Cloths will protect your surroundings from the paint.
- Primer – The most common beginner mistake I see is painting models without any Primer. A primer will prevent imperfections such as bubbles or paint not sticking to your models. It is a small price to pay for quality results.
- Clear Coat – A clear coat will protect the paint of your models. This will make the paint last longer. Also, it is the one responsible for making your models shine.
Paints
Of course, you can’t do painting properly without paint. So here are the ones I recommend.
- Acrylic Paint – Good for beginners because it dries quickly. However, it doesn’t produce results as good as enamel paint.
- Enamel Paint – Provides a good quality finish and longer-lasting paint. However, it takes longer to dry and requires expertise to use.
Model Maintenance
Model Storage
- Simple Wood Cabinet – While it doesn’t let you display your models, wooden cabinets are good storage for these models. For one, they are not heat conductors which means that the temperature inside will remain constant and remain cool. Furthermore, they prevent light from reaching the models which can cause oxidation.
- Clear Cabinet with Lock – If you want to display your models, then I recommend this. It closes so dust won’t easily get to your models. I also recommend you don’t put more than 1 model in each compartment since metals are good conductors of heat.
Model Photography
So you want to show off your models to others? Well, I got you covered.
Here is my beginner-friendly model photography tutorial that teaches everything from taking pictures to the editing process.
You will also see me doing hands-on photography in that tutorial.
Here is the link: How to Take Pictures of a Diecast Model or Model Kit | Helpful Illustrated and Video Guide
Source: