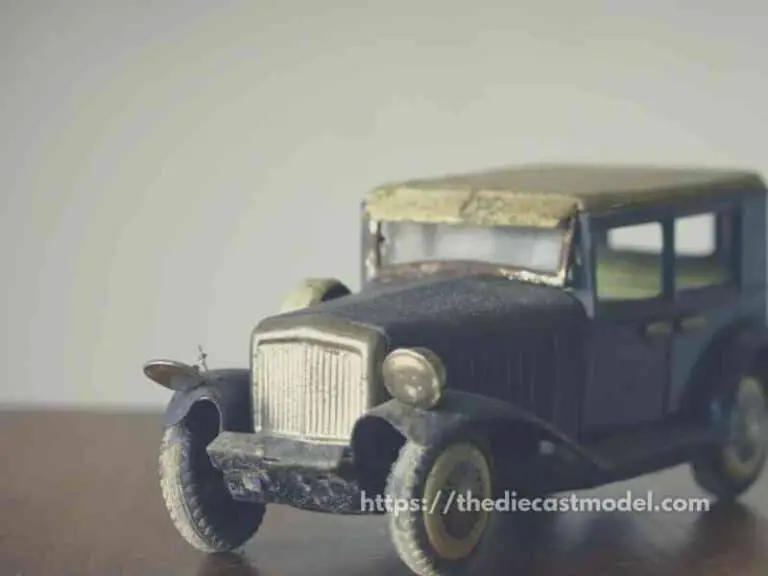
How Strong and Permanent is Tamiya Cement?
Many people look for a long-lasting adhesive, but they don’t know what to use. Tamiya cement, one of the popular model glues, can be a good choice in producing a permanent and robust bond. However, it has its drawbacks.
Tamiya cement is permanent and strong because its gluing properties come from welding materials together. In addition, butanone, Tamiya cement’s main ingredient, has a special affinity to polystyrene plastics that can mix with them, making the bond permanent.
This blog post will explain what makes Tamiya cement permanent and strong. Furthermore, I will talk about the regular and the extra thin glue. Lastly, I will explain Tamiya cement’s drawbacks and what you can use instead.
Is Tamiya cement permanent?
Tamiya cement binds permanently, especially when applied adequately because of its ability to melt and weld plastics. This makes the bond last indefinitely. However, it is worth noting that the bond created by plastic cement is still subjected to wear and tear.
Tamiya Plastic cement, often known as model glue, is a gel-like solution containing chemical components.
In addition to the 50% Butyl Acetate, 50% Acetone, and other quick-setting ingredients, plastic cement also contains 40% Ethyl Acetate, 40% Acetone, and 20% Butanone.
Ethyl Acetate evaporates more quickly, whereas, Butyl acetate is hotter when used on plastic.
Butanone is the primary ingredient in most polystyrene cement.
With the combination of these and knowing that plastic model kits are also made using polystyrene, the bond this glue makes is permanent since it goes deeply into the plastic kit’s chemistry.
That’s why Plastic cement from Tamiya is powerful enough to melt plastics and form an impenetrable bond.
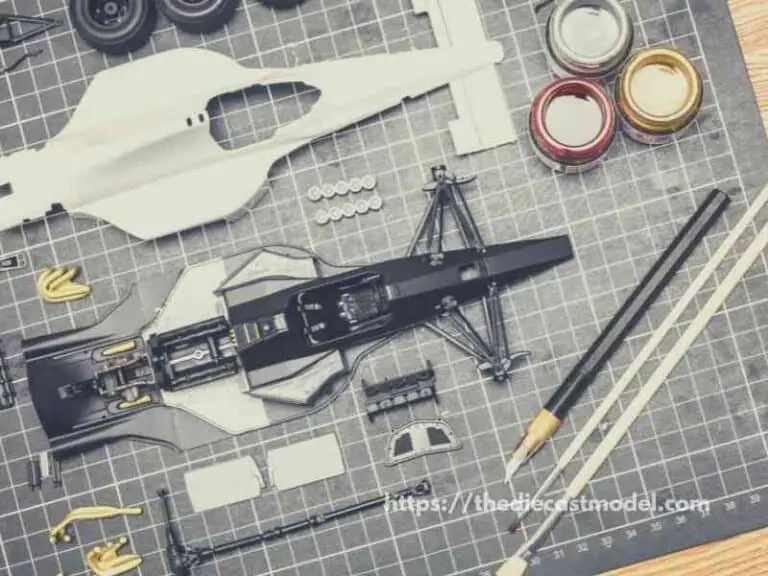
There is also another type of Tamiya plastic cement for small cracks and joints called the extra thin cement.
Extra Thin Cement, on the other hand from Tamiya, is a famous modeler’s glue when it comes to joining smaller parts.
Because of its high liquid content and low density, it can flow into even the tiniest crevices.
Extra Thin Cement is an excellent choice for connecting components in constrained places.
Usually, regular plastic cement takes 24 hours to cure, but extra thin stuff can cure in 40 seconds, leaving behind a permanent bond.
Both the Regular and Extra thin cement makes a permanent bond provided to plastics. However, how it lasts still depends on how you use the model kit.
So, even if the regular and extra thin cement provides a permanent bond, the usual wear and tear are still possible.
For a complete profile about Tamiya extra thin cement, feel free to check this blog post: Tamiya Extra Thin Cement Properties.
Is Tamiya cement strong?
Tamiya cement is strong because it binds not only by drying but also by reacting to plastics. In addition, butanone, a major ingredient in Tamiya cement, dissolves plastics. Thus, Tamiya cement has a special affinity to plastics, where it welds and binds them. Due to this, it’s hard to undo once plastics are glued by plastic cement.
If we talk about the quality and the components of Tamiya cement, I can say that it makes one of the strongest bonds on plastic models.
One of the reasons is that it sticks to plastic model kits and reacts on the molecular level.
That’s why some say that plastic cement tends to weld plastic kits.
The welding process can be seen if we squeeze plastic kits after plastic cement is applied.
Because of the welding process, when you squeeze colored plastic kits, you can see that colored plastic cement can come out.
However, I do not suggest trying this on your models since doing this can break your build.
I’m telling this because I want to emphasize that the bond plastic cement does is unique compared to other types of glue. The way it interacts with plastics makes it strong.
That’s why when it comes to bonding power, nothing surpasses Tamiya cement with a white cap.
This is because the bonding strength of regular cement is different from extra thin cement.
While the regular one takes a little longer to dry, its bonding power is unmatched.
In contrast, the extra thin cement dries faster but has weaker bonding strength.
Comparing these products is like comparing apples to oranges.
As you gain experience, you’ll learn that different products have different functions.
It’s not that extra thin is terrible. It’s just because their function is different. The extra thin cement is good in joining small cracks since they can enter via capillary function.
However, I find the regular cement to be better for filling gaps.
You gain this perception on what to use on your build with experience. It is always a good idea to have both types of glue on your tool kit.
Here is a simple table comparing both types of cement for your reference.
| Tamiya Cement | Tamiya Extra Thin Cement | |
| Brush | Larger | Smaller |
| Density | Denser | Less Dense |
| Best Use | Filling Tiny Cracks | For Gluing Pieces not Designed Together |
| Purpose | Gluing | Gluing and Thinning |
| Errors | Hard to Undo | Easier to Undo |
| Removing Cracks | Can Easily Remove Cracks | Hard to Remove Cracks |
| Drying on Bottle | Dries in the Bottle | It doesn’t dry on the bottle but turns cloudy |
| Drying Time | 6 hours | 40 seconds |
Capillary action propels Tamiya Extra Thin Cement. Fluids by nature can travel through small gaps without assistance from external forces.
Because of the surface tension and intermolecular forces, water molecules ascend during the action.
Various surfaces will have different levels of water molecule adhesion.
Using capillary action to fill spaces, Tamiya’s extra thin cement fills every nook and cranny between the two objects you’re attempting to join.
When capillary action is the primary method of dispersing the material, extra-thin cement should be used.
If you are seam welding well-prepared parts, this material is your best bet.
Regular cement is better for cementing scratch-built parts and plate additions to surfaces, as well as bonding together elements that weren’t meant to be together.
This is because regular cement provides a stronger bond than extra thin cement.
The extra-thin Tamiya cement is also good as support. To increase the strength of the bond, you can apply the extra-thin Tamiya cement to the edges of each component before gluing them together.
You can also use extra thin cement as a supplemental solution for small pieces that must dry quickly after being glued together.
The extra-thin cement is extremely powerful when it comes to binding strength.
Even though it isn’t as powerful as Tamiya regular cement (white cap), it’s stronger than any other product.
The Tamiya extra thin joints are pretty durable, despite their texture.
As I said earlier, plastic cement tends to melt polystyrene plastics specific to model kits.
Capillary action melts the plastic in reverse because the chemicals are potent and the cement is thin.
However, I would like to warn you about using this plastic cement based on experience.
Since this glue is strong and bonds on the plastic itself, there is no backoff when using this product.
A mistake made with the regular one cannot be undone, and applying force to the parts will damage them.
So, it’s clear that Tamiya’s regular and extra thin versions both provide a solid and permanent bond when used correctly.
What Type of Glue is Tamiya cement?
Tamiya cement is a type of plastic cement, widely known as model glue, comprising solvents like butanone, toluene, or dichloromethane (DCM) to melt the plastic on application and a filler like polystyrene plastics to weld them together.
Despite this method of bonding materials, Tamiya cement is only effective on plastics.
Tamiya cement is incompatible with metal, wood, ceramic, stone, and concrete.
As the name suggests, this glue is widely used to join plastic components while creating models; it is also used to attach ABS pipe and plumbing with PVC pipe.
Remember that what makes plastic cement good is its ability to weld and join plastics because of its dissolving properties. Using Tamiya cement in joining other materials is not ideal.
Conclusion
Tamiya’s regular and extra thin stuff are both popular among modelers.
An essential part of modeling is knowing which materials will yield the most satisfactory result when finishing the model.
However, you can utilize both as support for each other.
What’s Next? Now that you understand Tamiya cement and how good it is only suitable for plastics, you might be wondering what to use on other materials such as wood or metals. How about using Gorilla glue? To know more about Gorilla glue, you can find the post here: How Good is Gorilla Glue?

“Only the things I love”
thediecastmodel.com is reader-supported. When you buy through links on the site, I earn an affiliate commission.
So, here are the things I love when taking care of my Diecast Models.
Cleaning the Models
The first we are going to talk about is cleaning the models.
Removing Dust
- Air Brush – For me, this is the best since it not just removes dust but you can use it in painting/clear coating.
- Air Duster – This is a good alternative to Airbrush
- Normal Brush – If you are short on budget, you can use a normal brush. However, make sure that the brush has soft bristles because there are some hard brushes than can cause scratches. That’s why I recommended a good brush that can do the job properly.
Cleaning and Shining Hacks
Well, here are some of my cleaning hacks for removing scratches, oxidation, and so much more.
- Removing Decal Adhesive – Use Goo Gone on those hard-to-remove decal adhesives. It works fast and works like charm!
- Waxing and Polishing – Here is something a lot of people don’t know. Waxing protects the clear coat and paint while polishing shines the model. Instead of buying it separately, use a 2 in 1 to save money. Get this instead.
- Beginner Wax – The wax I recommended earlier is good and provides the best results based on my experience. But a beginner might have a problem especially if they’re not good at applying wax. Solid wax reaching hard to reach surface can be hard to remove. You have two choices here. One is to use a qtips to reach those surfaces, another is to use a liquid wax I recommended.
- Cleaning Wheels, Rubber, Plastic – Do not forget that rubber and plastic surface are quite different, especially in the cleaning process. Just wiping it down won’t do the job. That’s why I use Meguiar’s Vinyl and Rubber Cleaner and Conditioner. Works like charm!
- Make the Wheels Shine! – Making our models look good won’t be complete without tiny details such as shiny wheels! Do not forget this because however small this is, the difference can be as big as night and day.
- Remove Scratches Easily – Tiny scratches are not the end for your model. Here is a simple trick I’ve been using to make my models look scratch-free even without repainting. Use T-Cut.
Painting the Models
Painting Tools
Make sure when you paint models, have these ready.
- Tape – A tape is important if you are painting a straight line. Furthermore, it will prevent your paint to scatter on other parts. I recommend Tamiya Tape since it is really made for models. Furthermore, they stick really well preventing paint splatters.
- Brush (Beginner) – Find a good set of brushes to paint your models. Of course, you can opt for an airbrush but it’s quite expensive.
- Airbrush (Intermediate/Expert) – This will yield a significantly better result than an ordinary brush because you can easily spray the paint evenly. I recommend this if you know what you’re doing.
- Stand(Optional) – Stands are good because it can be hard to manually hold the models while painting. It is optional but in my opinion, the price is well worth it for the comfort it gives.
- Drop Cloths – Drop Cloths will protect your surroundings from the paint.
- Primer – The most common beginner mistake I see is painting models without any Primer. A primer will prevent imperfections such as bubbles or paint not sticking to your models. It is a small price to pay for quality results.
- Clear Coat – A clear coat will protect the paint of your models. This will make the paint last longer. Also, it is the one responsible for making your models shine.
Paints
Of course, you can’t do painting properly without paint. So here are the ones I recommend.
- Acrylic Paint – Good for beginners because it dries quickly. However, it doesn’t produce results as good as enamel paint.
- Enamel Paint – Provides a good quality finish and longer-lasting paint. However, it takes longer to dry and requires expertise to use.
Model Maintenance
Model Storage
- Simple Wood Cabinet – While it doesn’t let you display your models, wooden cabinets are good storage for these models. For one, they are not heat conductors which means that the temperature inside will remain constant and remain cool. Furthermore, they prevent light from reaching the models which can cause oxidation.
- Clear Cabinet with Lock – If you want to display your models, then I recommend this. It closes so dust won’t easily get to your models. I also recommend you don’t put more than 1 model in each compartment since metals are good conductors of heat.
Model Photography
So you want to show off your models to others? Well, I got you covered.
Here is my beginner-friendly model photography tutorial that teaches everything from taking pictures to the editing process.
You will also see me doing hands-on photography in that tutorial.
Here is the link: How to Take Pictures of a Diecast Model or Model Kit | Helpful Illustrated and Video Guide