9 Things to Do to Avoid and Remove Stress Marks on Gunpla
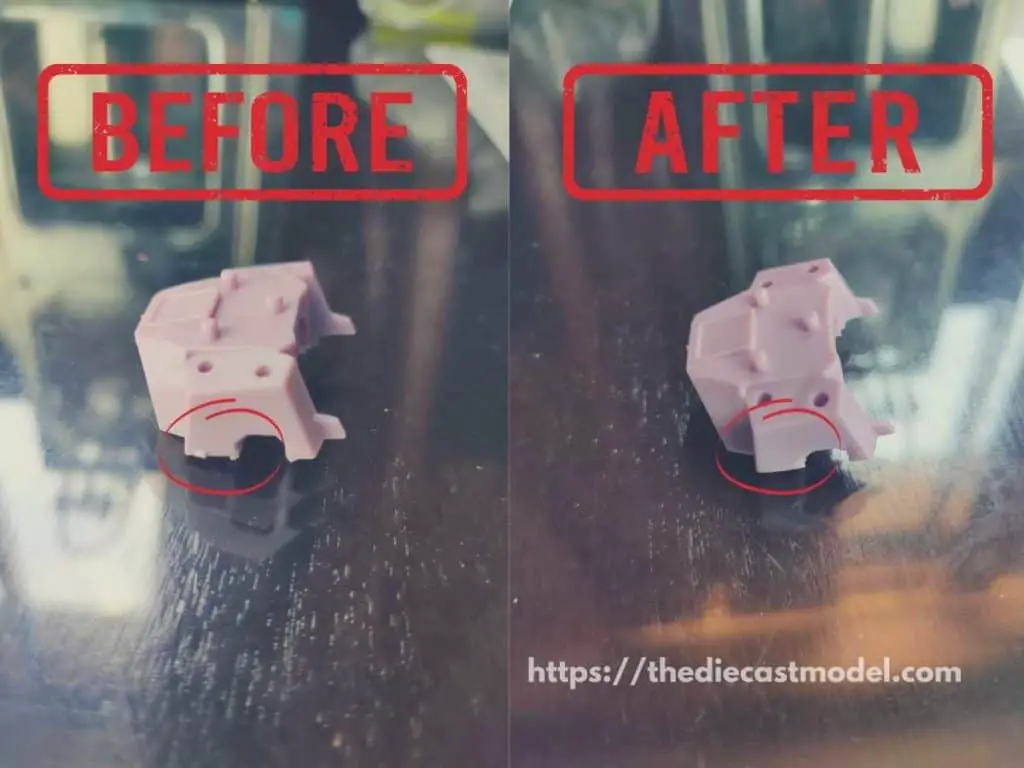
Have you ever tried building Gunpla or any plastic kits, and suddenly, you see some discoloration on the part where you cut the pieces? That’s what most modelers call stress marks, which happen when plastics are compressed. Naturally, most modelers hate this as it is considered an imperfection to models. The good news is there are ways to remove or even prevent these stress marks.
To remove and avoid stress marks, use a model nipper to cut the parts with a 1-2 mm excess in the gates. After that, use a model cutter to cut through the excess plastic slowly. Lastly, use a model file or sandpaper and sand the model in one direction. This will remove stress marks and improve your skills in building a Gundam model.
This post will discuss some things you can do to remove or prevent these marks. These tips will improve your Gunpla building game to the next level. Let’s start.
This post may contain affiliate links, which means that I may receive a commission if you make a purchase using these links. As an Amazon Associate, I earn from qualifying purchases.
1. Cut Using a High-Quality Model Nipper
You can remove stress marks using a high-quality model nipper. High-quality model nippers are incredibly sharp in cutting the plastics instead of crushing them.
Stress marks happen when plastics are crushed or compressed. This happens when we cut the gates using cutters and nippers that aren’t sharp enough.
This is why many modelers say to beginner modelers that buying a high-quality nipper is the best investment you can make in Gundam or plastic kit modeling.
One of the best model nippers is the one from Godhand. You can check their nipper on Amazon here: Godhand Nipper.
However, just because you have a high-quality model nipper doesn’t mean you don’t have to worry about stress marks.
A good quality nipper is a tool that allows you to lessen them. As a tool, you should know how to use it properly.
To prevent stress marks, cut with a model nipper 1-2mm away from the gate. This will ensure that even if the cut produced tiny stress marks, it wouldn’t affect the model.
The most common mistake I see is that modelers use the nippers to cut the parts straight to the gate without any leeway for stress marks.
While high-quality nippers would dramatically reduce the occurrence of stress marks, they don’t work 100% of the time.
That’s why it is crucial to understand how to use these nippers properly.
The good news is that I made a video where I showed how to use a nipper to cut the sprues or gates properly.
Furthermore, I also showed how to remove and avoid stress marks.
Here is the video.
2. Use a Model File
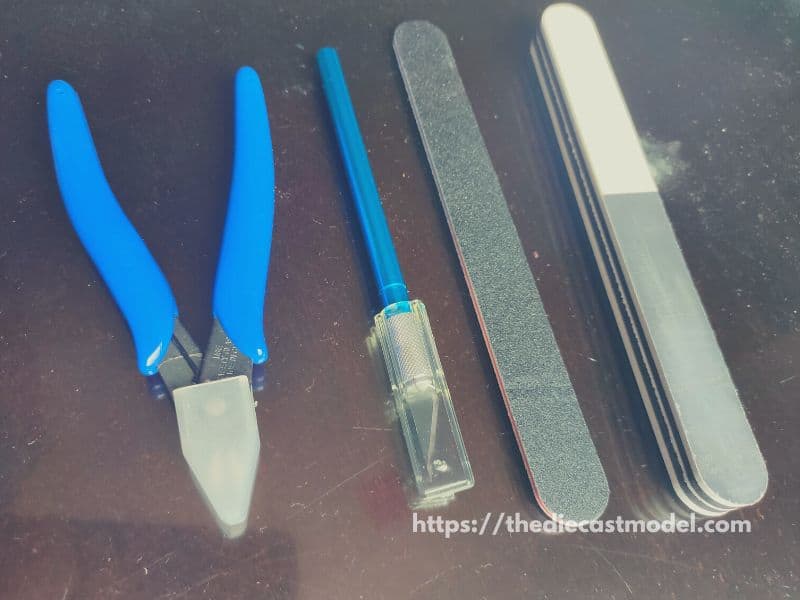
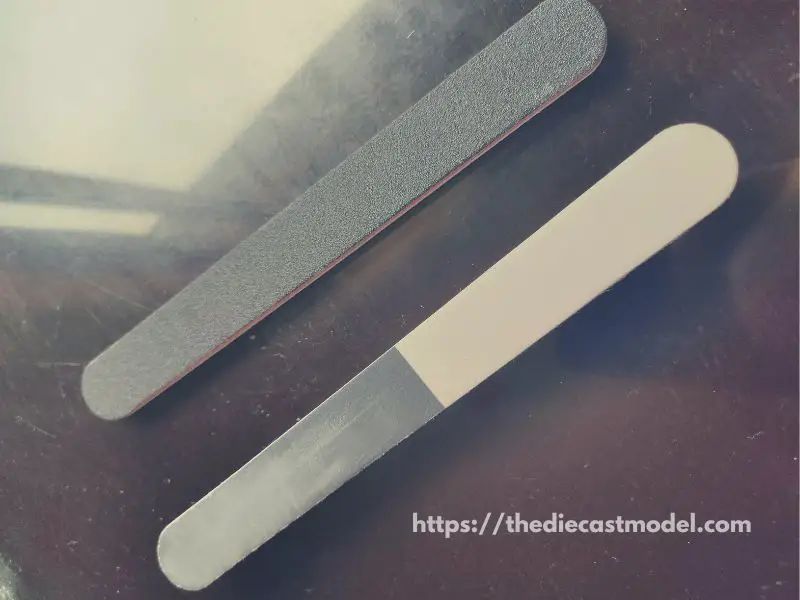
One known method to remove stress marks is to use a model file. Model files are great tools you can use to remove the stress marks from the model slowly.
The model file’s purpose is to slowly scrape the stress marks, which are crushed plastics due to using excessive force or nippers or cutters that aren’t sharp enough.
Here is a photo of my model file.
You can find model files on Amazon here: Model File
It is still crucial to know how to use a model file properly since it is a tool.
So, for Gundam modeling, you need 600, 800, and 1000 grit model files and sandpaper.
In my video above, I used those three to demonstrate where you will use them.
Grit 600, 800, and 1000 are used to fix stress marks. However, you only need grit 1000 if you properly remove the parts from the gates.
The biggest tip I can give you when model filing is that you should always file or sand in 1 direction. This prevents scratches when filing.
However, what if you don’t have any model files lying around. We can use sandpapers which we will discuss in the next section.
3. Use a Sandpaper
Sandpaper is an excellent alternative for model files when removing stress marks.
You also need 600, 800, and 1,000 grit sandpapers when removing stress marks like what we used with model files.
The problem with sandpapers is that they are usually harder to use since they don’t have a handle that you can use to sand the model accurately.
This causes problems primarily if you use the 600 grit, which can cause deep scratches to the plastic.
Another is that some people prefer wet sanding with this method which makes you dip the plastic into the water and then sand.
There is nothing wrong with wetting your plastic models, especially if you are using water-resistant sandpaper.
In fact, I created a blog post talking about why you should wash your models before building them.
You can check the blog article about cleaning your Models kits with water and soap here: Can you Wash Gunpla Model kits?
While there are some drawbacks of using sandpaper over model files, you can still use it efficiently with some simple tricks.
For example, you can cover a popsicle stick with sandpaper so it would function as a model file. This would help you sand your models accurately.
Overall, sandpapers are a cheap and great alternative to model files as long as you know how to use them properly.
4. Cut Using a Hobby Knife
Almost all Gundam modelers started with two tools: a model nipper and a hobby knife.
These two tools are essential as they make the building process more manageable. Plus, it dramatically improves your build quality.
A sharp hobby knife can also be used if you don’t have a model nipper to cut the gates. While it won’t produce the same results as a real nipper, they produce satisfactory results that are still better than ordinary knives or turning the gates until it breaks.
In my video above, I used the hobby knife to cut the gates to prevent stress marks slowly and as you can see in the video, using a hobby knife prevented stress marks on my model.
Like the nipper, make sure to use a high-quality hobby knife. Furthermore, always change the blades since they lose their sharpness over time.
5. Use a Cutter
If you don’t have a hobby knife, an ordinary cutter also works, provided its blades are new.
Old blades lose their sharpness which causes stress marks when used on plastic models.
However, based on experience, they aren’t as sharp and strong as a real hobby knife.
Thus, only use cutters as a last resort. I don’t recommend using it since I never got any good results from using cutters in plastic modeling.
Hobby knives are one of the best investments you can make in plastic modeling.
6. Use a Gundam Pen Marker
There are times when you might have already done your best to prevent stress marks. But, then, here they are staring at you. Now, you’re wondering how you could fix it.
Well, here is a secret. Even experienced modelers create stress marks.
Have you wondered why most experienced modelers prefer painting their models? This is because painting covers these stress marks.
By painting their models, they don’t have to go through the tedious process I showed in the video.
This can be a problem for beginners since painting is an advanced skill.
That’s where markers come in handy.
If you notice, stress marks are whitish discoloration on plastic models. Thus, you can instead paint these marks with a pen to remove the marks.
That’s why there are a variety of model pens for Gunpla available such as the one I have here.
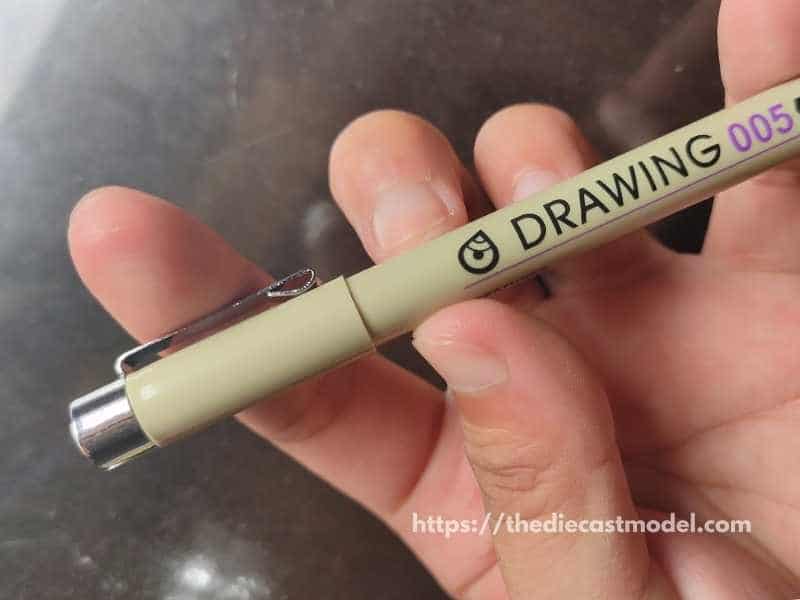
If the plastic is the same color as the pen, you can use the pen to cover these marks.
Alternatively, you may use a permanent marker as long as they have the same color as the plastic.
So, if the plastic is red, use a red marker. If the plastic is black, use a black marker.
That way, you can mask these stress marks with a pen.
7. Applying Top Coat
Did you know that top coats can also reduce stress marks?
Top coats cover the plastics, which reduces the visibility of these marks.
While they aren’t as effective as painting to completely remove stress marks, they produce satisfactory results.
However, using a top coat to remove stress marks is not recommended as it is hard to remove top coats when it dries up.
Thus, I don’t recommend using a top coat to remove stress marks. Instead, use clear coats for their primary purpose, which is to protect and shine the models.
But what if there is something that can do what a clear coat does but isn’t permanent? Luckily, we have that, which I used at the end of the video, which is the plastic protectant.
8. Use a Plastic Protectant
A plastic protectant offers what a clearcoat does minus being permanent.
Thus, you can use a plastic protectant to shine, protect, and lessen stress marks.
However, while plastic protectants work to reduce stress marks, their real purpose is to add years to the plastic’s life since, over time, plastics are oxidized, which causes them to become brittle.
Furthermore, it is not wise to use a plastic protectant and top coat simultaneously. For example, you can’t use top coats when you apply a plastic protectant since the top coat wouldn’t stick well.
Thus, it’s either the one or the other.
However, plastic protectants and topcoats aren’t as good as completely painting the model, which we will discuss in the next section.
9. Painting the Parts
Painting the parts is a great way to remove stress marks.
Stress marks are whitish discoloration on the models, which are pretty hard to remove. Luckily, we can cover them with paint.
In fact, most modelers paint their models because it is how they remove the stress marks.
However, painting is an advanced skill, and beginners could also remove stress marks using the methods given above.
While painting will produce the best result, it isn’t recommended for beginners, especially if they don’t have a workshop where they can paint their kits.
Thus, I created this post to give them alternatives to painting.
However, in the end, as most experienced modelers say, you will learn how to paint to remove these marks as they are a natural occurrence in Gunpla modeling.
What’s next? After spending some time building your models, you should understand how to maintain your models properly. One of the most common ways of plastic aging is when they are exposed to the sun. Thus, you must know how to protect your models from sun damage. Here is the link if you’re interested in learning them. How to protect your models from Sun Damage?